It’s not always necessary to buy a new dresser when your antique one goes out of style – upcycling is a great option!
Whether you bought it years ago, inherited it from a family member, or found it at a thrift store, your dressing table may be a bit out of date and out of style. Don’t worry – with a few tools, some paint, and a bit of patience, you can modernise that old piece of furniture into something you’ll be proud to show off.
Getting started
Because your finished piece will only be as sturdy as what you start with, make sure your original dresser is made of solid wood. While it’s possible to upcycle modern furniture, older pieces are often better constructed and built to last.
Put on clothes you don’t mind getting dirty, and lay down dust sheets or tarpaulins to protect your workspace. Remove drawers, knobs, and any other fittings so you can work on each part individually.

Prepping
Use a scouring sponge or sandpaper (or even a sander for stubborn varnish or paint) but be careful not to overdo it. You can also use varnish stripper to make the process easier.
Repairs
If your dresser shows signs of wear and tear, use wood filler to patch cracks, scratches, and dents. Once it’s dry, sand the repaired areas until smooth.
Reviving old hardware like brass knobs or handles is easy: Boil them in equal parts white vinegar and water, then rinse well and buff with a soft cloth. If necessary, use a commercial brass polish and finish with a protective wax or lacquer to keep the shine lasting longer.
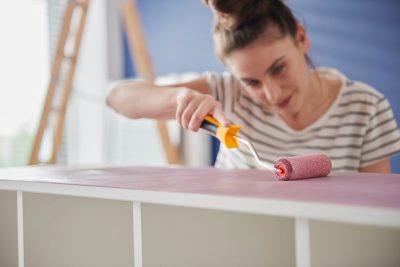
Painting
Painting can be the most enjoyable part of the process. Choose your desired colour and paint the body of the dresser, allowing it to dry before applying a second coat.
If your dresser has a framed mirror, cover it carefully with masking tape so you don’t accidentally get paint on it. Repeat the painting process for the drawers and other wooden parts. Once everything is dry, check whether a third coat is needed for a smooth, even finish.
Sealing
When the paint is completely dry, lightly buff the surface with the scouring side of your sponge to smooth out any brush lines and create a good base for the wax.
Carefully remove any masking tape. Then, using a brush or cloth, apply a colourless wax polish over all the painted areas to protect your work and give it a soft sheen.

Reassembling
Once everything is fully dry and sealed, reattach the knobs, drawers, and other fittings.
Step back and admire your handiwork – you’ve just given your old dresser a new lease on life!
Compiled by Warren Hawkins

