

Feel like messing about in the garden? Rope in the family with these easy DIY garden projects using Builder’s cement. It could be as much fun as making mud pies!
Cement is not normally associated with gardening. But it’s an incredibly versatile medium that needs only the most basic of tools to turn out 101 different items, from personalised stepping-stones to bird baths, plant pots, outdoor tablecloth weights, night lights and even a fire bowl.
All you need is cement, soil or sand, water and some basic household items that can be used as moulds. Once the cement has set, get yourself some Fired Earth paint and decorate to your heart’s content.
Quick tips:
- Whenever working with cement, use a mask, glasses and gloves to protect your hands.
- Don’t be in a hurry. Give your work of art at least 24 hours or more to dry.
- Frequently spray some water on the dried cement product for a further 24 hours to strengthen it even more.
- Cement has a shelf life of three months. To keep it viable, store leftover cement in a sealed bag, away from any moisture.
- To review the range of cement visit https://www.builders.co.za/Building-Materials/Cement/c/Cement
Here are some fun and easy things you can make with a bit of Builders Cement and some imagination:
Personalised stepping stones
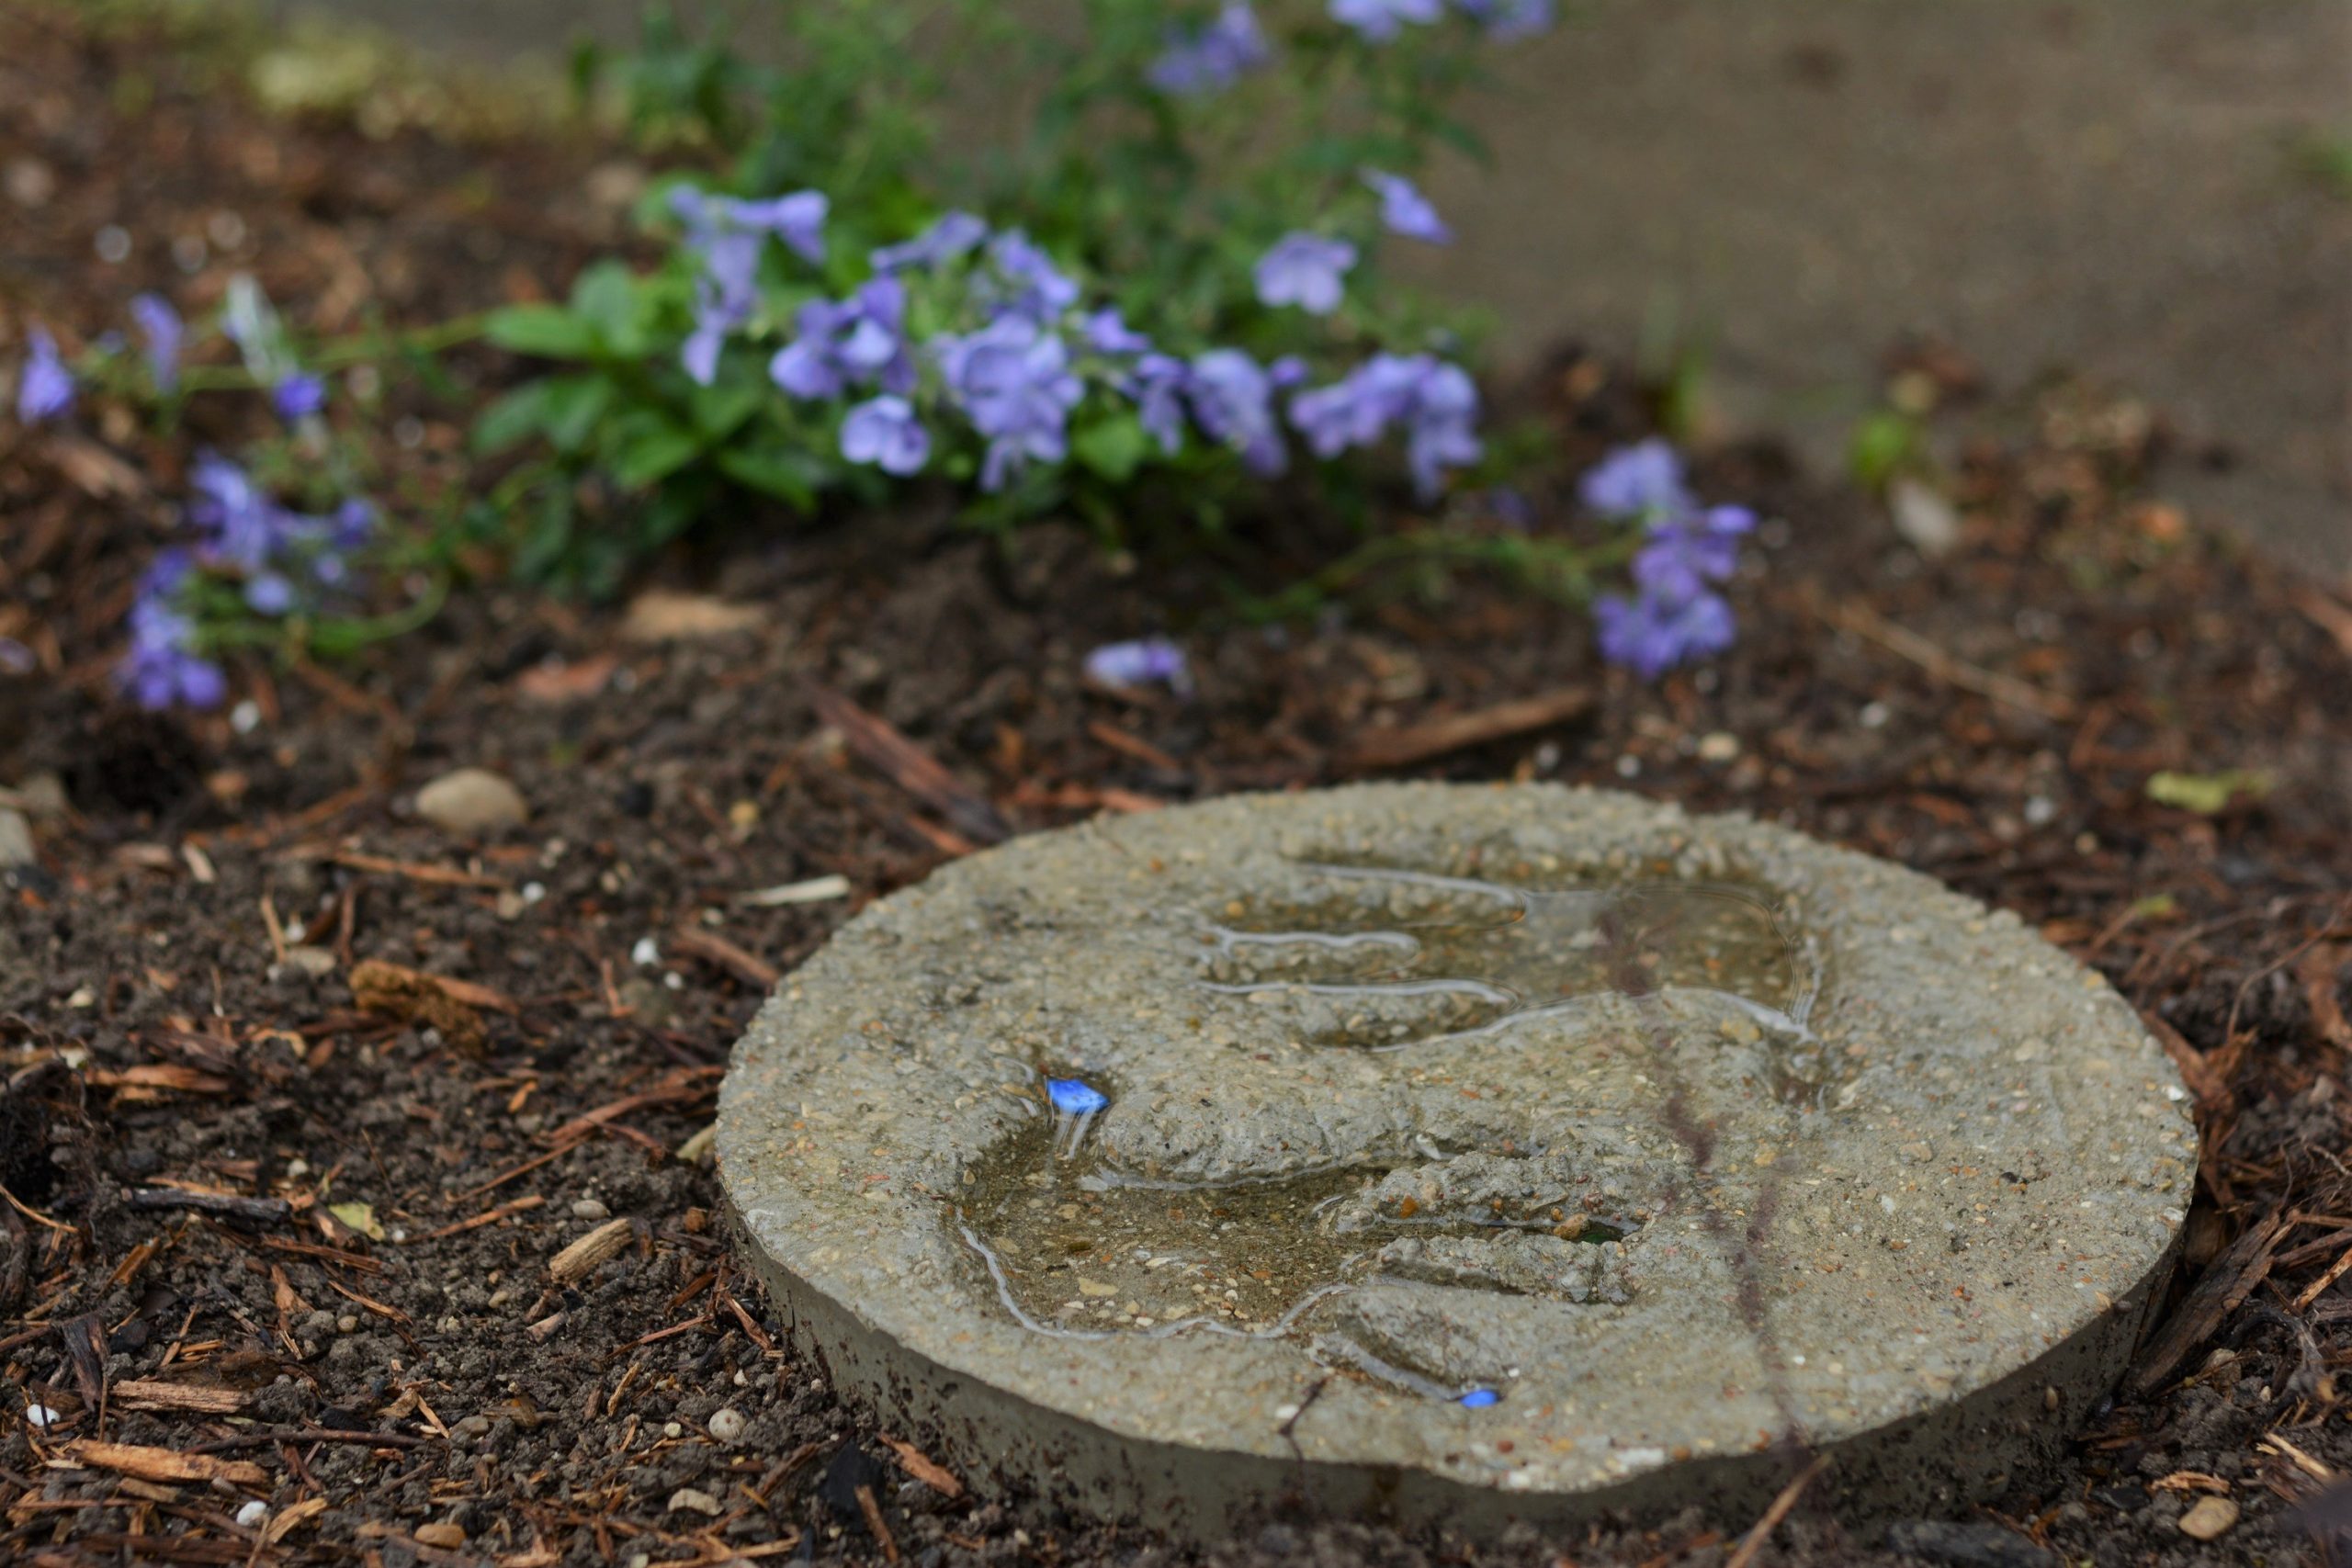 This one’s for the kids. How would you like a steppingstone with an imprint of your hands (like the Hollywood stars), or your own design using pebbles, coloured glass, even embedded toys!
What’s nice about the hand imprint is that everyone in the family could do their own, a really personal family memento for years to come.
You’ll need:
5 parts Builders Premix concrete to one part water, and a square or round mould, that can be plastic, glass, foil, even the bottom of a bucket.
Mix the concrete and water until it’s the consistency of thick mud, smooth as possible. Coat the inside of the container with non-stick spray or oil and pour or trowel in the concrete. Press the items into the concrete. For hand impressions, let the concrete firm as little bit before pressing in your hands.
Leave for 24 hours and then carefully remove from the mould.
Decorative plant pots
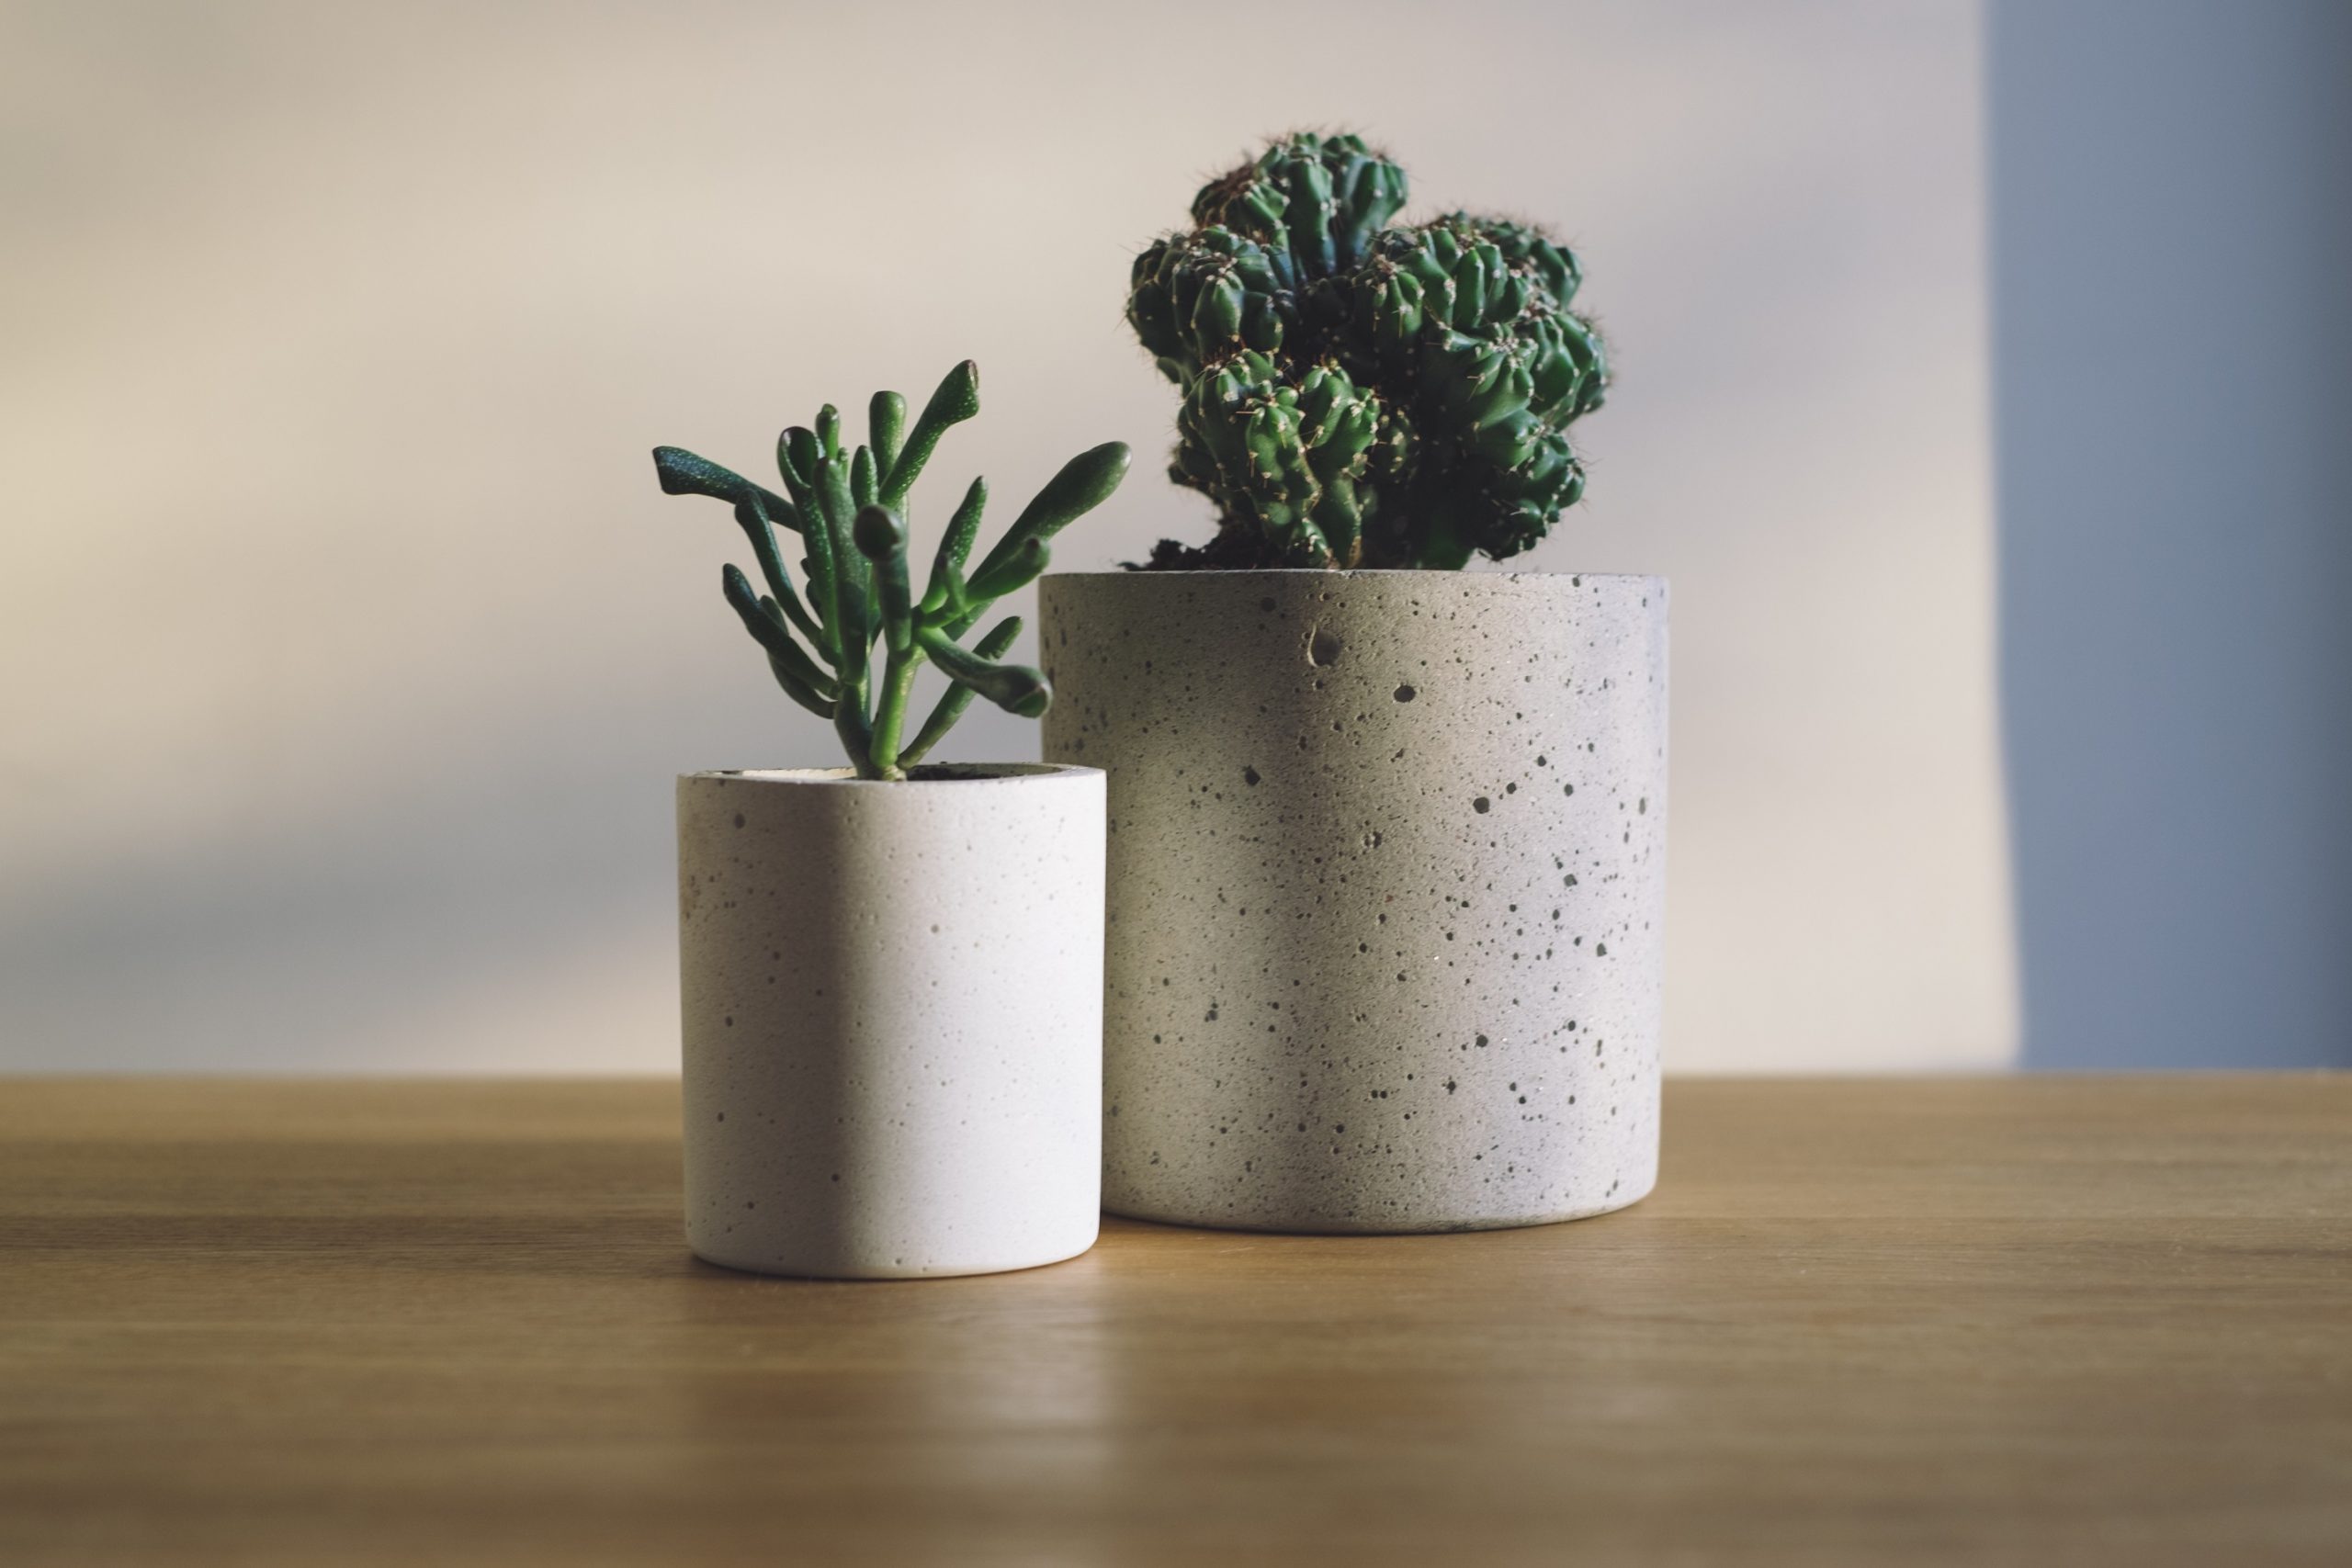 Make a feature of your indoor plants, herbs or succulent collection by popping them into decorative plant holders. Why not make the pot holders yourself? Here’s how to do it:
You’ll need: Two containers, one larger than the other. These can be large mugs, plastic pots, glass jars, hard cardboard cylinder or any other container. The smaller container is needed to create the inner space for the pot plant.
Mix cement and water in a plastic bowl to a firm, muddy consistency. Oil or spray the inside of the larger container. Three-quarter fill it with cement. Spray the outer surface of the smaller container and push it firmly into the cement. This creates the inner hollow for the pot plant. Put stones or weights into the inner container to keep it weighed down. Let dry for 24 hours. Remove from the mould, smooth with sandpaper and paint. Painting is a good way to preserve your cement holder.
A bath for the birds
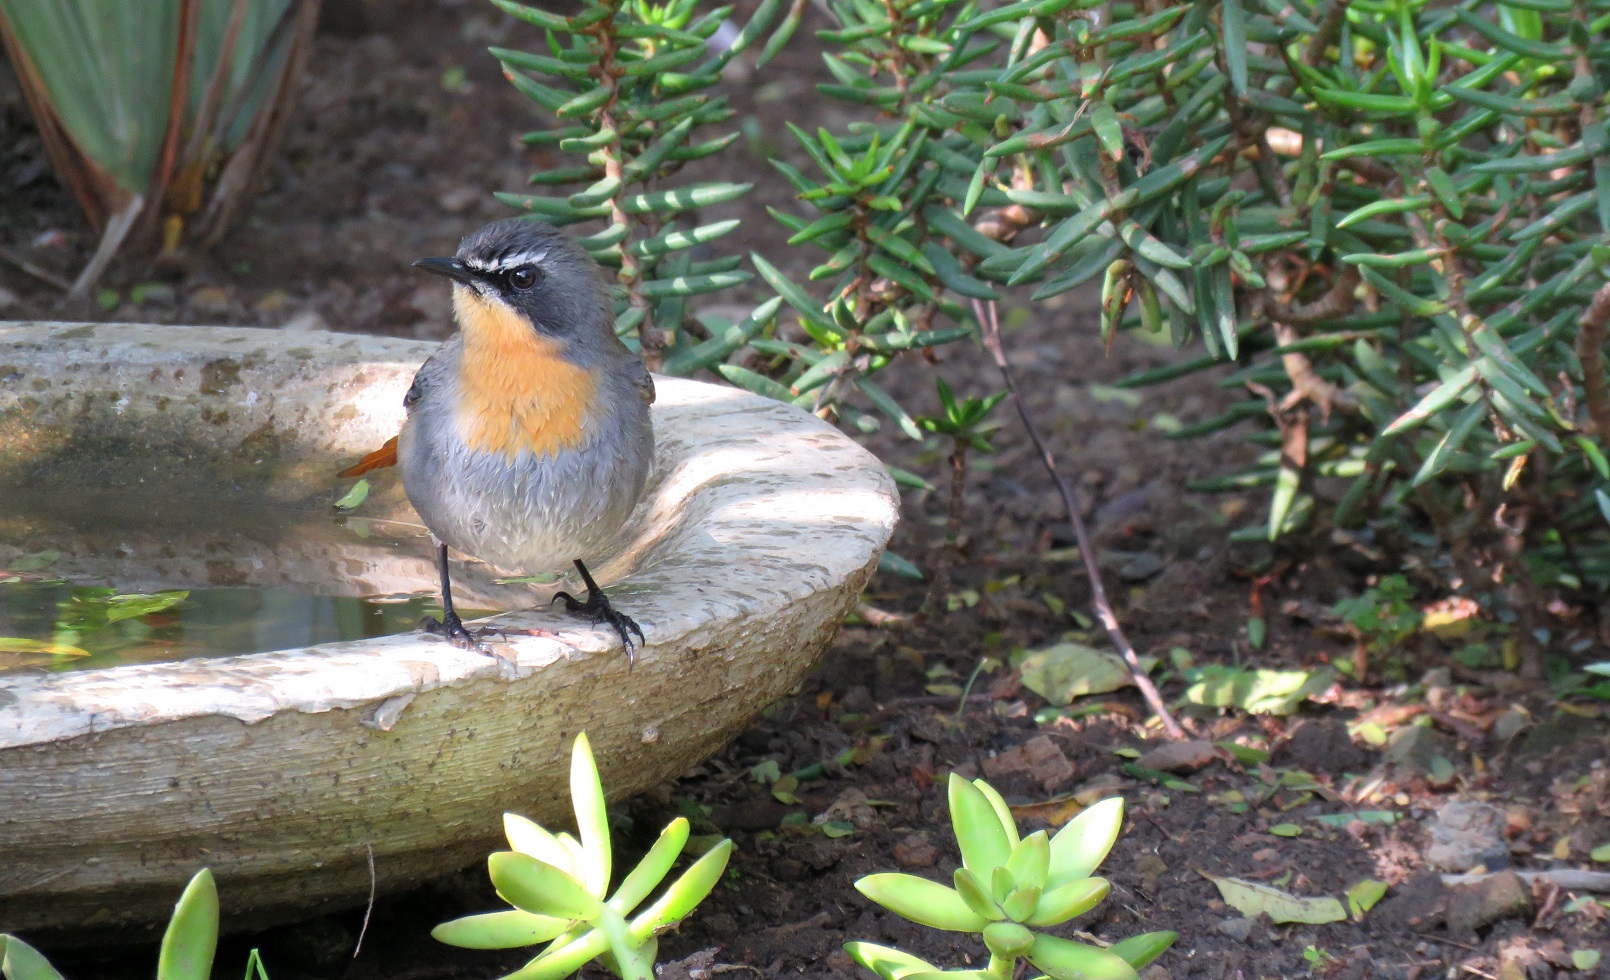 In this heat the birds love, and need, a cooling splash of water. The more the better. In gardens without cats the bowls can be on the ground, and they will attract other garden life. Make the rim of the birdbath as broad as possible so it is easier for the birds to perch.
You’ll need: bucket for mixing cement, water, 2 plastic bowls, one quite a bit bigger than the other
(so that the gap between the two makes a wide edge), gloves, and non-stick spray or oil.
Mix the cement in the bucket. Spray or oil the inside of the big bowl and fill half-way, or just over half with cement. Spray/oil the bottom and sides of the second bowl and nestle it into the larger bowl so that the cement comes right up to the top. Top up with cement if necessary. Put stones into the second bowl to keep it weighted down. Smooth out the top. Let it set for a week and take out the top bowl. Let the bottom bowl stand for another week before removing it from the plastic bowl. Seal with a stone sealer.
Fire In the Bowl:
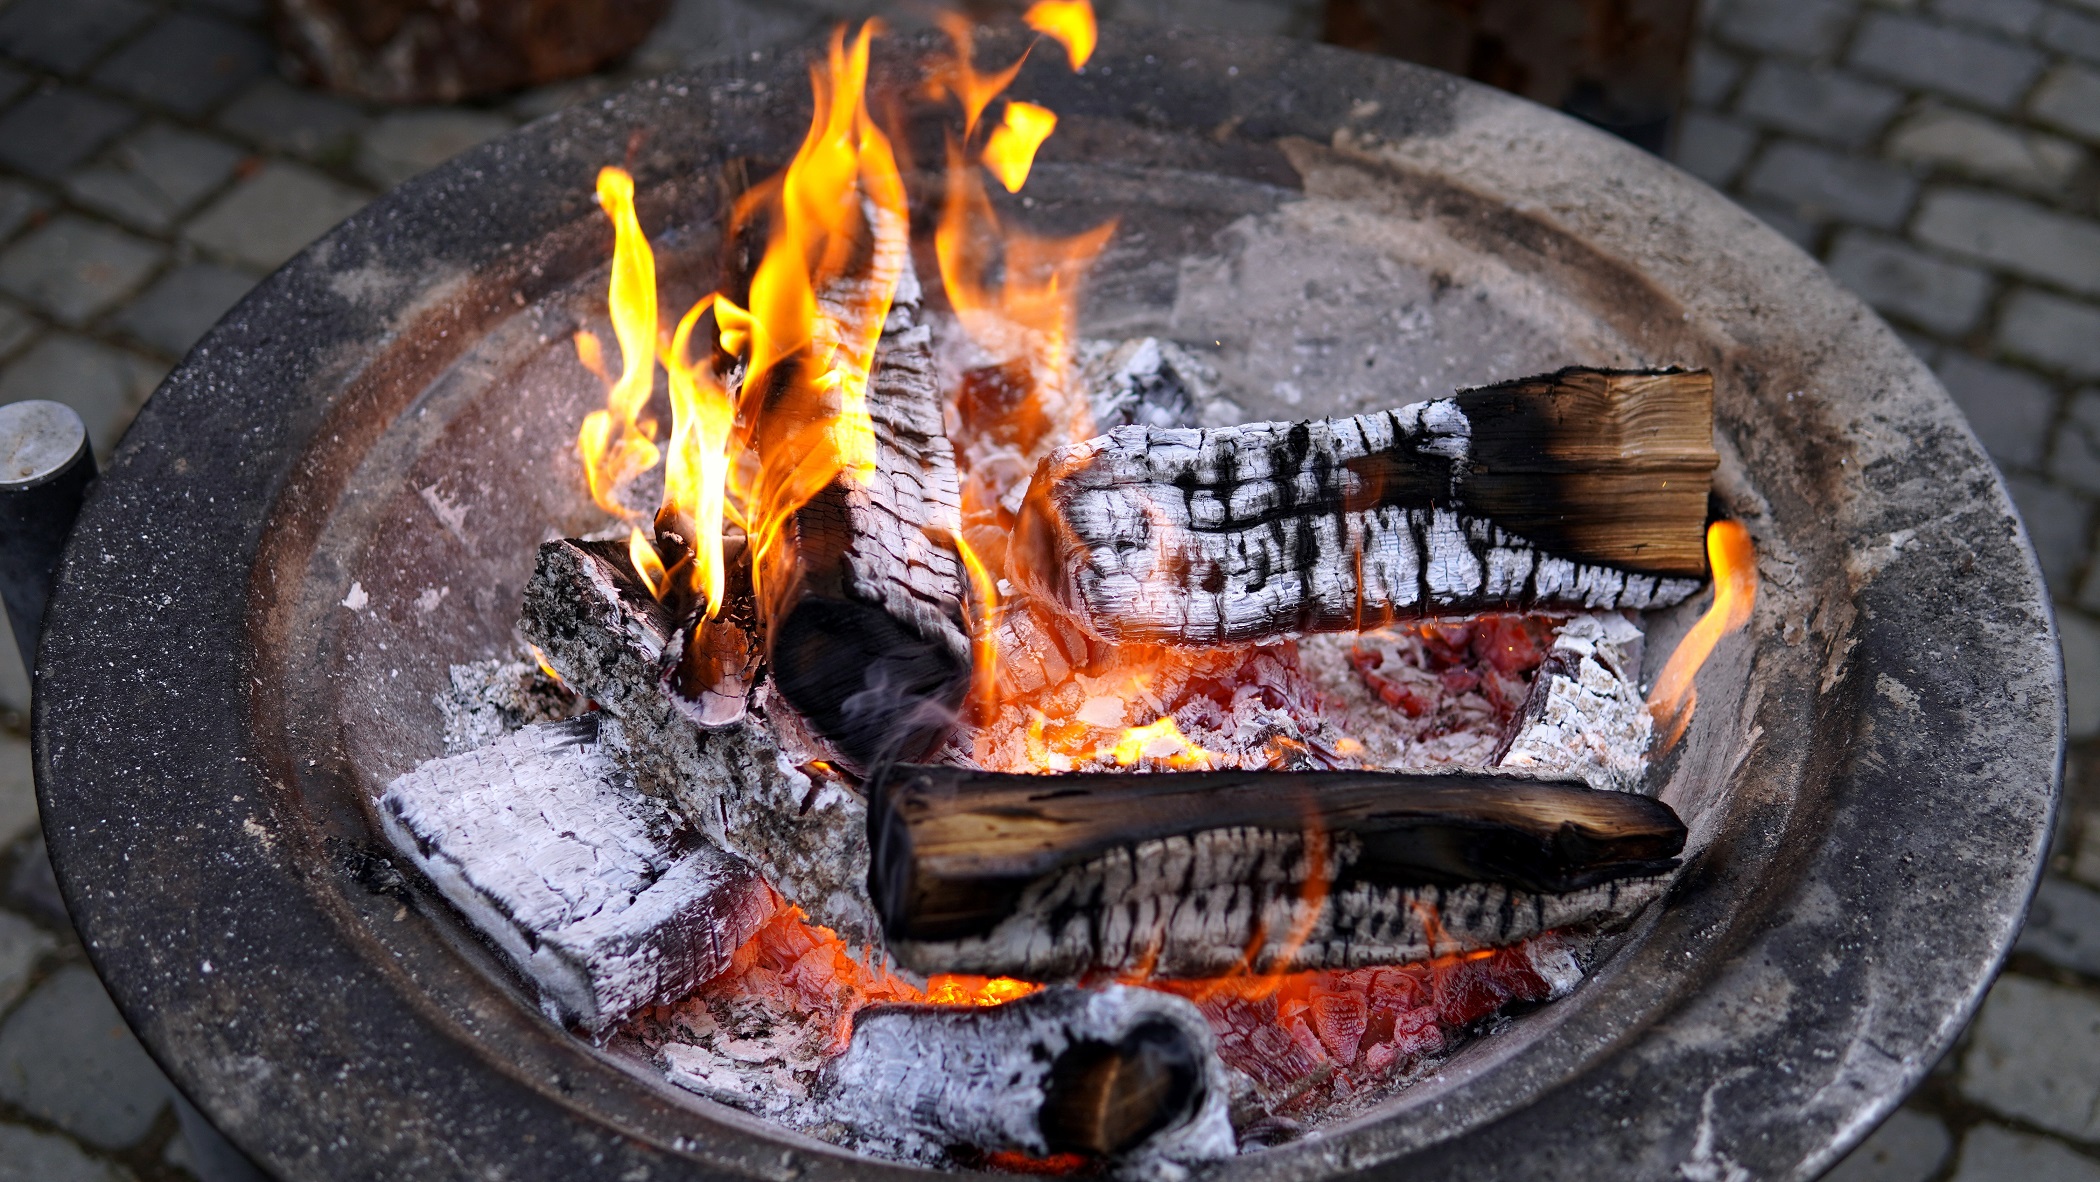 There is nothing nicer than fireside chats under the stars. If you don’t want to build a big fire pit, make this concrete fire bowl.
You’ll need: two plastic bowls, one of which must fit into the other. You will also need oil or non-stick spray, something heavy, a knife or filer, some decorative pebbles and wire mesh.
Start by coating each of the bowls with the oil or non-stick spray before mixing some cement and then pouring that into the larger bowl. Make sure that the mix is as smooth as possible. Next, put the small bowl into the large bowl and place your heavy item (preferably a weight) in the centre of the smaller bowl to weigh it down. Let it sit overnight before carefully removing the inner bowl. Once that is done, use a knife, file or sandpaper to smooth out the edges of your new concrete bowl.
Cut the square wire mesh and shape it to fit inside the concrete bowl. Carefully place a can of tiki fuel at the centre and cover it with the mesh wire. Cover the wire with decorative rocks, light the tiki fuel and enjoy.
Light by night garden candles
 This is another easy project for the kids. Candles always add atmosphere, especially when sitting outdoors or around the fire bowl.
You’ll need: Any shape that appeals to you, maybe a shell, star-shaped cookie cutter, moulds…and a tea light.
Mix some cement to a firm, fine consistency. Oil or spray the inside of the items you have chosen. Pour in the cement and settle it into the mould. Oil or spray the bottom and sides of the tea lights and push them into the cement. Let them dry for 24 hours. Remove from the mould and sandpaper smooth or paint.
For more crafting tips, visit https://www.builders.co.za/. Scroll down to YouTube and search for Cement. It will throw up a multitude of ideas.
Alice Coetzee


